
Start with “Check for personal data, notifications or location information”
Do not begin with a broad reset. Check the following first so you can isolate the problem and avoid unnecessary data loss or reconfiguration.
- Check for personal data, notifications or location information
- Streaming, financial and corporate apps may block screenshots
- Crop unnecessary areas before sharing
Understand which layer owns the behavior
Change one condition and retest
Work from the top and stop as soon as the issue is resolved. Read every confirmation screen before moving to a higher-impact action.
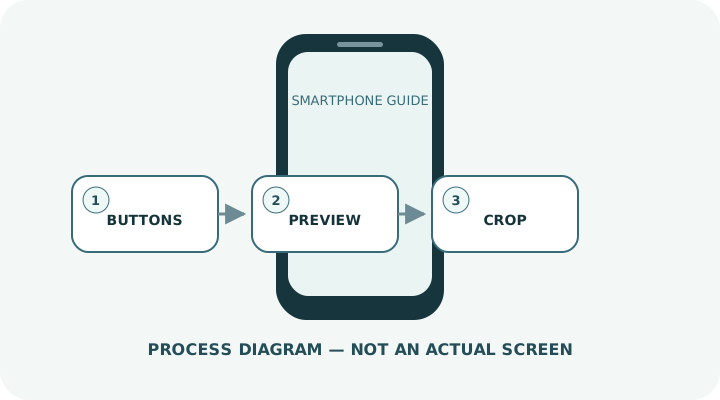
- 1On Face ID iPhones, briefly press the side and volume-up buttons together. On Home-button models, press the side or top button with Home.
- 2On many Android phones, briefly press power and volume down together; some models also provide a shortcut in Quick Settings.
- 3Open the preview to crop or annotate the image.
- 4Use Full Page or Scrolling Capture only when the app and device offer it.
- 5If capture fails, avoid holding the buttons too long and check whether the app blocks screenshots.
Do not erase the evidence before isolating the cause
- Holding the buttons until the power menu appears
- Sharing account names or notifications accidentally
- Trying to bypass an app’s screenshot restriction
Prepare for a faster diagnosis next time
- Zoom in and inspect the image before sharing
- Add arrows or numbers when using screenshots for instructions
Frequently asked questions
What if my screen looks different?
Labels and locations vary by OS, manufacturer, model and region. Use Settings search and check the manufacturer’s model-specific instructions.
What if I am unsure partway through?
Go back and confirm that no action has been committed. Do not proceed through an erase or account-change warning until you understand it.
What if the problem remains?
Test another connection or accessory where relevant, verify backups, then contact the manufacturer or carrier through official support.